DIY Vocal Booth Results

In the video, I’m only using the audio from the vocal microphone. I tried to vary only placement of the microphone.  It’s the same microphone, the same settings, the same interface, the same room, etc.  The only thing that changes is whether the microphone is inside, or outside of the vocal booth.

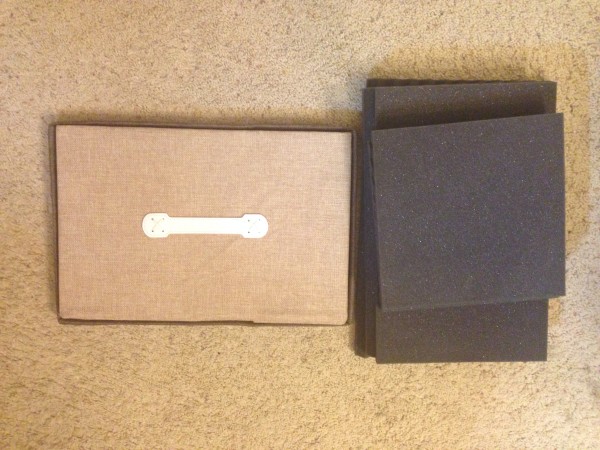
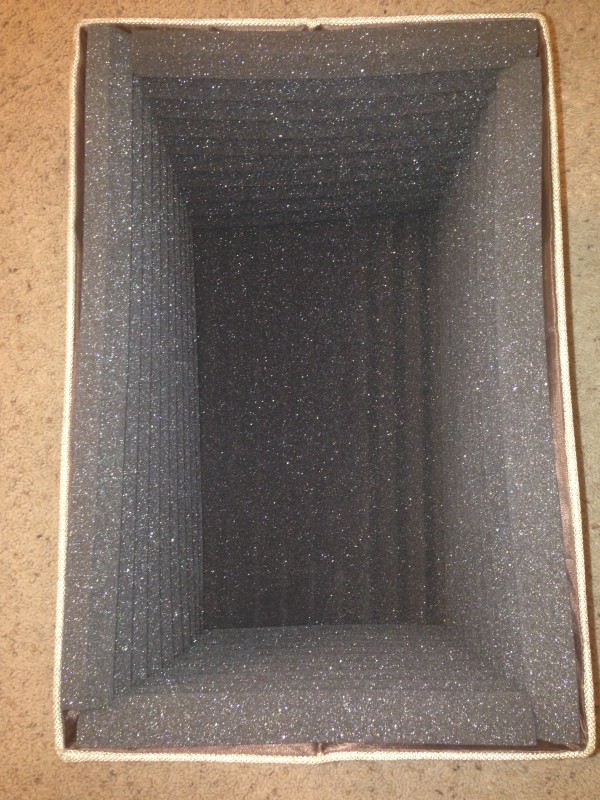
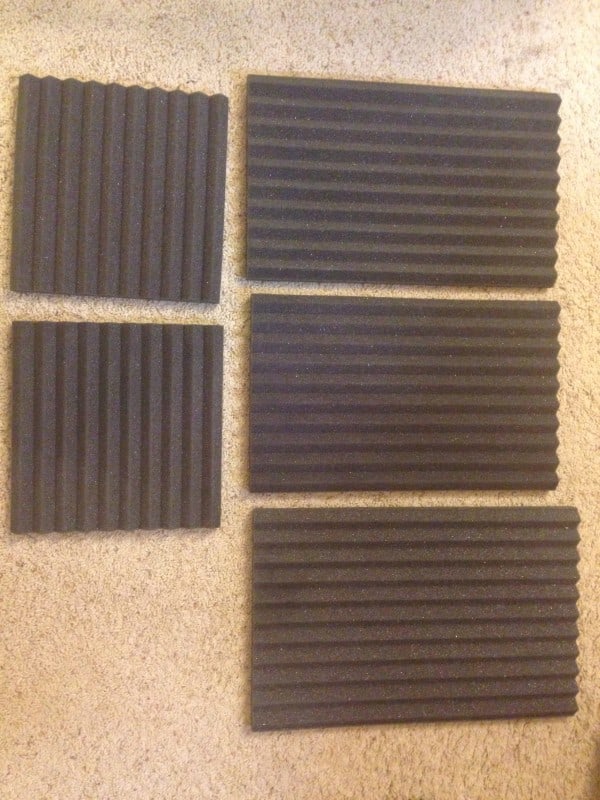
The acoustic foam that’s placed inside of the vocal booth cuts out a lot of the higher frequencies.  Without any compression, you might find the recording outside the booth more appealing.  The following comparison is the same recording with 4db of compression.  I think you’ll find that the vocal booth makes a huge difference.

How to Make a DIY Vocal Booth on a Budget

I’ve been researching ways to improve my vocal recordings while working on a budget.  The vocal booth needed to:

  1. Sound Great – If I’m going to go through the trouble of making my own vocal booth, I want the result to sound great.
  2. Affordable – There are existing products on the market from $40.  If the DIY version is going to cost more than that, it needs to offer a significant improvement in the sound quality.
  3. Portable – If I’m producing a vocalist, I might have to travel to their home or studio.  The vocal booth needs to be portable, and easy to set up.

The Materials

  1. Jumbo Storage Box from Amazon – $19.99
  2. Acoustic Foam from Foam Factory – $54.97

The Jumbo Storage Box cost $19.99.  The advantage is that it’s large enough to isolate all sides of the microphone.  The cheapest products on the market only offer isolation on some of the sides.

I had foam cut to dimensions from Foam Factory for $54.97.  Here is a breakdown of the costs:

  1. One sheet of 48″ x 72″ foam – $18.99
  2. Labor to cut – $10.00
  3. Custom Order Setup Fee – $12.99
  4. Shipping – $12.99

You can save $22.99 if you decide to cut the foam yourself.

Additional DIY Vocal Booth Gear

Alternative Vocal Booths on the Market